How to Crop a Video Online Without Losing the Shot
Learn how to crop a video online, choose the right frame, avoid cutting off important action, and export a clean social-ready clip.

Kevin Li
Cropping a video is not just changing the shape of the frame. You are deciding what stays visible and what gets removed.
That matters for talking-head clips, product demos, screen recordings, and social videos where the original frame does not fit the platform. A good crop keeps the subject, captions, and important movement inside the final frame.
Crop vs resize
Cropping removes part of the video frame. Resizing changes the output canvas. Those are related, but they solve different problems.
Use Crop Video when you want to select a specific part of the image and export only that area. Use Video Resizer when you want to keep the whole video visible while fitting it into a platform size, often with blur or solid background padding.
Step 1: Choose the final shape
Start with the platform or placement. A vertical clip usually needs 9:16. A square post uses 1:1. A feed video may use 4:5. A widescreen export uses 16:9.
If you are not sure, choose the shape based on the main viewing surface. Phone-first clips usually need vertical framing. Desktop tutorials and YouTube videos usually need widescreen framing.
Free crop is useful when you only need to remove an unwanted edge, watermark area, or empty space. A locked ratio is better when the final upload destination expects a specific shape.
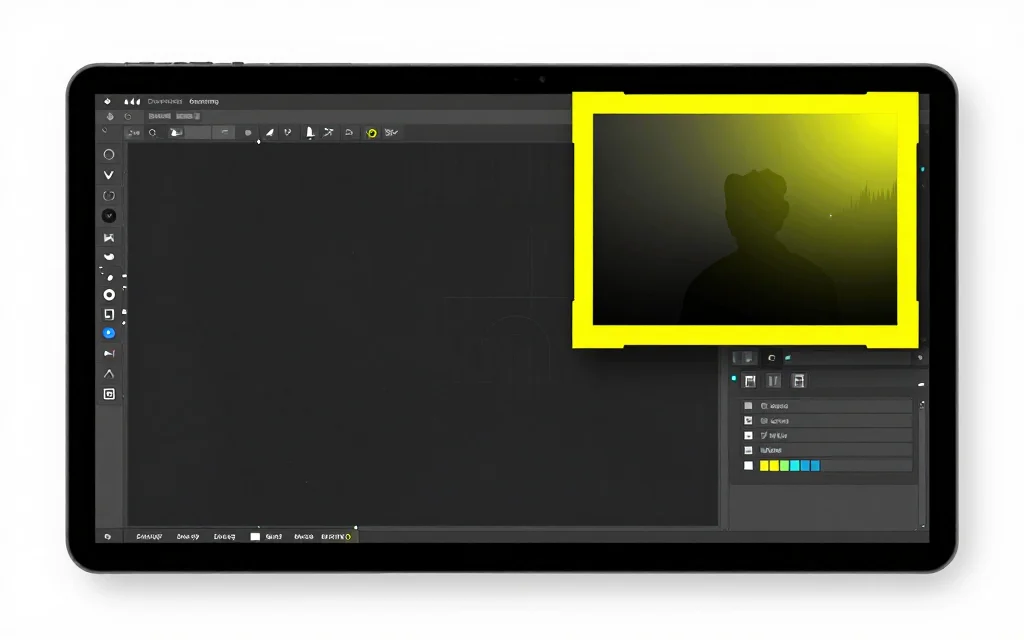
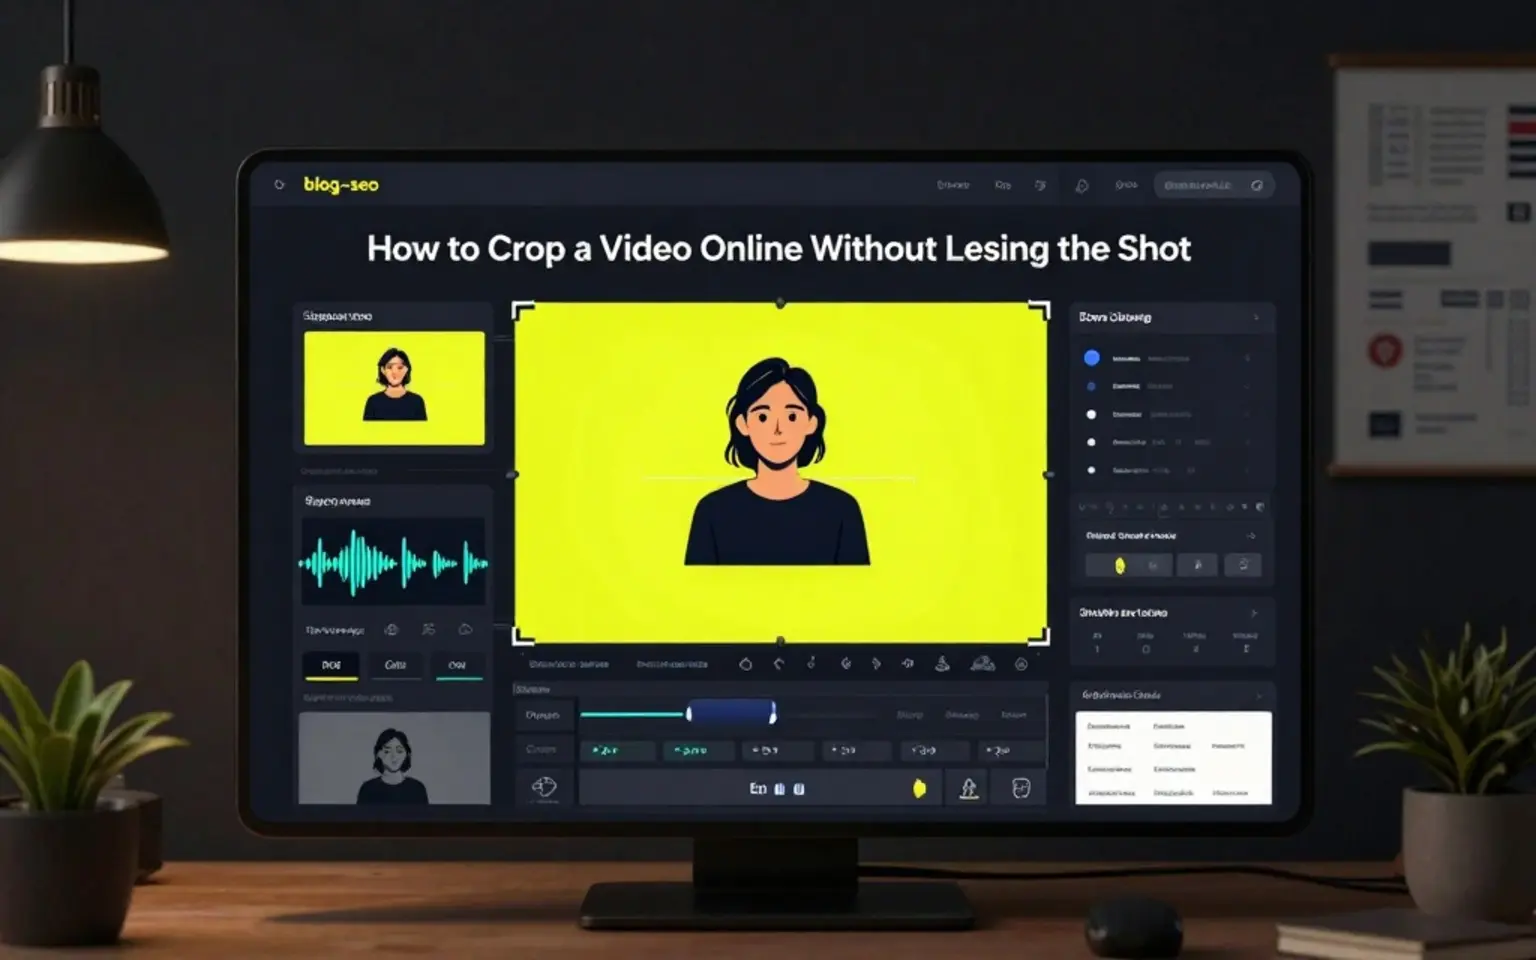
Step 2: Place the crop box around the subject
Open the video in the free online crop video tool, upload the file, and drag the crop box over the part you want to keep.
Keep faces, hands, product details, and captions away from the edges. Platforms may add UI on top of the video, and viewers may watch on small screens. A crop that looks fine in a desktop preview can feel cramped on a phone.
If the speaker moves, scrub through the video before exporting. Make sure the crop still works beyond the first frame.
For interviews or podcasts, check both speakers. A crop that centers the host may cut off the guest when the conversation switches. For screen recordings, check menus, cursor movement, and any text the viewer needs to read. For product demos, keep the product and the hand or pointer action in the same frame whenever possible.
When in doubt, crop a little wider. You can always make a tighter version later, but an overly tight crop can remove context that is hard to recreate.
That is the main difference between a clean crop and an anxious crop: the clean one gives the subject room to move. If you feel yourself constantly checking whether a face, hand, cursor, or caption will be clipped, the box is probably too tight.
Step 3: Watch for captions and overlays
If the video already has burned-in captions, keep them inside the crop. Cropping can cut off the first or last word of a line if captions sit near the edge.
If you plan to add captions after cropping, leave enough safe space near the bottom. This is especially important for vertical clips where platform UI can cover parts of the lower frame.
For subtitle work after cropping, use the auto subtitle generator once the frame is final.
Step 4: Export and review
Export a short test if the tool supports it, or at least review the downloaded file before publishing. Check the first few seconds, a section with movement, and the ending.
Browser-based video export can take time, especially for larger files. Keep the tab open while export is running. If your source video is very large, a dedicated editor may be more reliable.
Also check the exported file in the place where it will be used. A crop may look clean in a desktop player but feel too tight in a vertical mobile feed. If the clip will be posted with captions, watch it with captions enabled or burned in before you call it finished.
Common cropping mistakes
Cropping from only the opening frame is risky. A person may lean, a screen recording may scroll, or a product may move. Always preview more than one moment.
Cropping too tightly is the next problem. Tight crops can look dramatic, but they leave no room for captions, gestures, or platform UI.
The third mistake is using crop when resize would be better. If you need to keep the full video visible, do not crop away content. Use blur or solid background resizing instead.
When not to crop
Do not crop if the whole frame matters, such as a screen tutorial with important controls on the sides. Use resizing with padding instead.
Do not crop someone else's video unless you have rights to edit and republish it. Cropping can change context, so use it responsibly.
Related tools and guides
- Crop the frame with Crop Video
- Keep the full frame visible with Video Resizer
- Add captions with the auto subtitle generator
- Create clips from long videos with Long Video To Clips
- Learn the platform sizes in best video size for Reels and Shorts
FAQ
What does cropping a video do?
Cropping removes parts of the frame and exports only the selected area.
Is cropping the same as resizing?
No. Cropping removes content. Resizing changes the output size or canvas.
What aspect ratio should I use for TikTok or Shorts?
Use 9:16 for most vertical short-form videos.
Can I crop a video in the browser?
Yes, for browser-decodable files. Very large videos may take longer to export.
Should I crop before adding subtitles?
Usually yes. Finalize the frame first, then add captions so they fit the visible area.